
Introduction
I use a Pentax Kr for 5 (or maybe 7) years now as my main camera, and it started to ‘forget’ the date every times I changed the main battery… So I needed to set the date and time very often to keep my photo correctly tagged. Which is a little annoying.. It took me a year before addressing the problem and to change the internal battery responsible for keeping time.
More facts
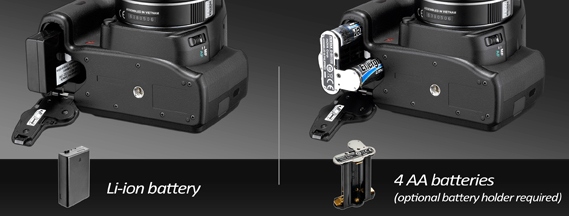
Most camera have two internal batteries : one easy to switch and most of the time rechargeable which store the main power to use the camera. The other one, more or less accessible, stores internal parameters like the clock. On the Pentax Kr, the internal clock is kept by a dual-layer capacitor which act as a battery. This component is used only when the main battery is depleted or missing (when switching). The problem is, the capacitor life is about 500 hours, which seems a lot of time to switch the main battery ! But if the camera is stored with the main battery removed or depleted, it’s dead in 20 days. It took 5 years before mine was dead and here is how to replace it if you don’t want to change your camera or get annoyed.
How to change the internal battery
Prepare !
You need little material to do the repair, here the list :
- I like to keep screws and parts tidy, so I used a firm paper to trace the camera contour and makes little hole were the screw are located on the camera to place theme during disassembly.
- Precision screwdrivers
- A basic soldering station (with tin)
- The new battery
- Your hands

Unscrew ‘almost’ everything
[1] Unscrew the bottom part:

[2] Unscrew the top part but don’t take it off:
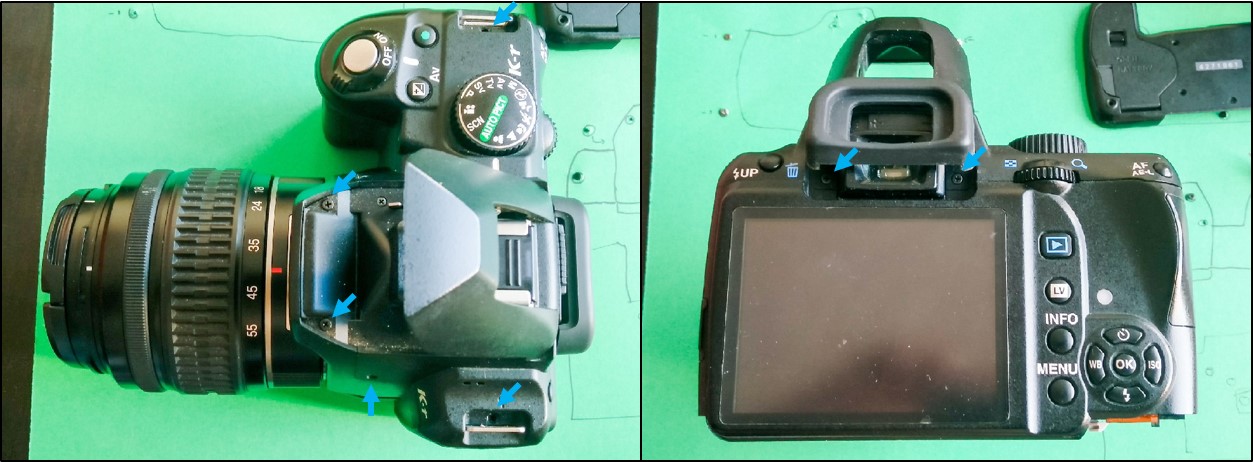
[3] Unscrew the sides (2 screw hidden for each sides):

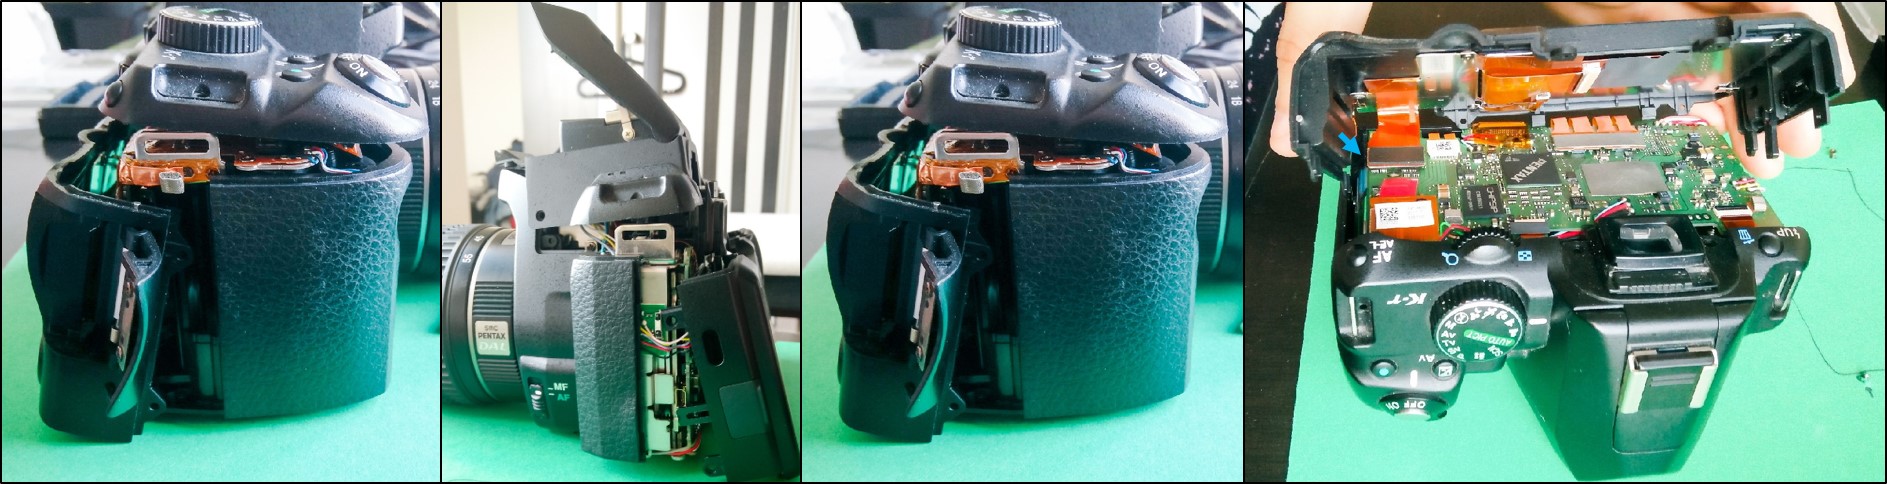
[4] Now the delicate part : To remove the back part, the top part must be raised a little (not to much, there are soldered cables connecting those parts). The back part should resist a little, but go slowly and it will detach. Pay attention to the electric ribbon connected to the main part. It’s connected from the bottom, so you can access it by raising the top part, it should comes off really easily:
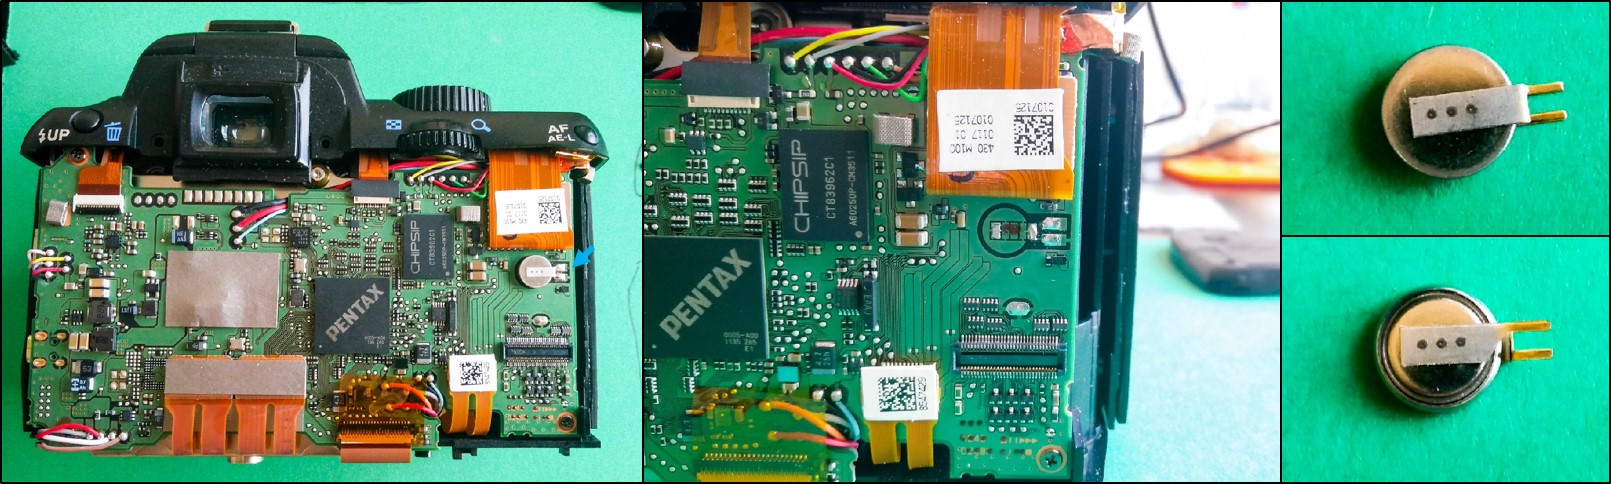
[5] Solder the new battery in place of the old one:
[6] Reassemble in reverse order !